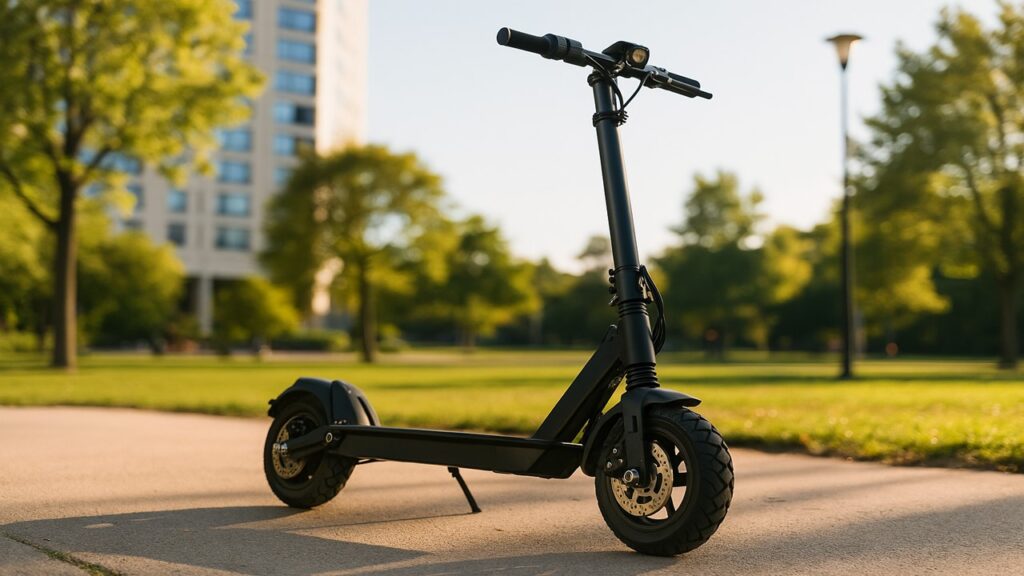
Removing an electric scooter tire from the rim is simple if you follow the right steps and use the proper tools. Whether your scooter uses a pneumatic or solid tire, understanding the process helps you handle punctures, wear, or upgrades without visiting a repair shop.
Key Summary:
- Removing an electric scooter tire from the rim requires fully deflating it, loosening the bead, and using tire levers to lift it off safely.
- Pneumatic, tubeless, and solid tires each need slightly different removal methods and tool approaches.
- Proper inspection of the rim and tire after removal helps prevent leaks, wobbling, or future punctures.
- Reinstalling the tire correctly with even bead seating and accurate air pressure ensures safe and smooth riding performance.
Understanding Electric Scooter Tire Types
Different scooters use different tire systems, and knowing which type yours has will determine how you remove and replace it safely.
- Pneumatic tires provide better comfort, but need occasional repairs.
- Tubeless tires seal directly to the rim and resist small punctures.
- Solid tires eliminate flats but can be harder to remove or install.
Each type behaves differently when dismounted, so let’s break them down in detail.
Pneumatic (Air-Filled) Tires
Pneumatic tires are filled with air and are the most common type found on commuter scooters. They provide excellent shock absorption and traction, making rides smoother on uneven roads.
However, they’re prone to punctures and require regular pressure checks. When removing, deflate them completely to release bead tension before using tire levers. Keeping an eye on air pressure every few weeks extends their lifespan.
Tubeless Tires
Tubeless tires use an airtight seal between the rim and tire instead of an inner tube. This design allows minor punctures to seal automatically if a liquid sealant is present.
When removing tubeless tires, breaking the bead is the hardest part. Use a bead breaker or apply warm soapy water along the edges to reduce friction. Once the bead is loose, the rest of the tire can be pulled off by hand with less effort.
Solid or Honeycomb Tires
Solid tires don’t use air, so they never go flat. They’re often made of rubber with small air pockets to add flexibility. These are great for riders who want zero maintenance but can be difficult to replace without softening them first.
You can soak them in hot water or use a heat gun briefly to make the material pliable. This prevents rim damage and allows smoother removal.
Self-Healing or Mixed Tires
Some modern scooters use hybrid designs — air-filled front tires for comfort and solid rear tires for durability. Others use gel-infused self-healing models that automatically plug small punctures.
These advanced types usually require the same removal process as pneumatic tires but with extra care to avoid damaging the sealant or inner structure.
Tools You’ll Need
You don’t need specialized equipment, but having the right tools makes the process much easier. Gather everything before you start so you can work efficiently and safely.
| Tool | Purpose | Tip for Use |
| Tire levers (plastic preferred) | To pry the tire bead off the rim | Avoid metal levers to prevent scratching |
| Valve core remover | To deflate the tire completely | Keep spare valve cores handy |
| Wrench or Allen keys | To remove axle bolts or nuts | Label bolts if removing multiple parts |
| Soap-water mix | To lubricate the tire bead | Makes it easier to slide off or on |
| Air pump | To inflate the tire after reinstalling | Check correct PSI on the tire sidewall |
These basic items can handle almost any tire type, from tubed to solid models.
Removing an Electric Scooter Tire from the Rim: Step-by-Step
The process takes patience but can be done at home in under an hour. Prepare a flat, stable workspace and follow these core steps.
- Remove the wheel from the scooter.
- Deflate the tire completely.
- Break the bead seal.
- Pry the tire from the rim using levers.
- Pull off the remaining side and inspect the rim.
Let’s go over each step in detail.
Step 1: Detach the Wheel Assembly
Turn off your scooter and disconnect any brake or motor cables connected to the wheel. Use the correct wrench or Allen key to loosen axle nuts or bolts.
Once loosened, slide the wheel gently off the axle. Keep all washers and fasteners organized, as you’ll need them during reassembly.
Step 2: Deflate the Tire
Locate the valve stem and remove the cap. Use a valve core remover to release all air pressure until the tire feels completely flat.
Deflation reduces tension around the rim and makes the bead easier to dislodge. For inner-tube designs, pull the valve stem gently from its slot.
Step 3: Break the Bead
The tire bead is the inner edge that grips the rim tightly. To break it, press down firmly on both sides or apply warm soapy water to loosen the grip.
For tubeless tires, use a bead breaker or clamp-style pliers. This step is critical — forcing a tight bead can crack the rim or damage the rubber.
Step 4: Pry the Tire from the Rim
Insert a tire lever under the loosened bead and lift it slightly over the rim. Work your way around in small sections until one side is free.
If it feels stiff, add more soapy water for lubrication. Once one side is off, you can usually pull the rest by hand. Avoid using sharp metal tools that might gouge the rim or tear the rubber.
Step 5: Remove Tire Completely and Inspect
Once both beads are free, remove the tire from the rim entirely. Check the rim for dents, cracks, or corrosion.
Clean the surface using a dry cloth before reinstallation. If you’re replacing a tube, inspect the old one for punctures before deciding whether to patch or replace it.
Special Tips for Different Tire Types
Each tire type has small differences that can make removal easier or more difficult. Adjust your approach accordingly.
| Tire Type | Key Tip | Why It Helps |
| Pneumatic | Deflate fully before using levers | Reduces bead pressure for safe removal |
| Tubeless | Use soap-water or lubricant along the rim | Loosens bead and prevents tearing |
| Solid | Warm tire in hot water for 5–10 minutes | Softens material and prevents rim stress |
| Self-Healing | Avoid puncturing gel layer inside | Maintains self-sealing ability |
With these small adjustments, you can handle any tire style confidently and safely.
How to Reinstall or Replace the Tire
Once the old tire has been removed and the rim inspected, reinstalling or replacing the tire correctly is essential for safe riding. Start by positioning one side of the tire bead onto the rim, keeping it evenly aligned. If your scooter uses an inner tube, insert the tube inside the tire and feed the valve stem through the hole in the rim before proceeding.
Next, press the second bead over the rim edge, working around gradually with your hands or tire levers. Avoid forcing it, as pinching the inner tube can lead to leaks. Once the tire is seated, inflate it slowly while checking both sides to ensure the bead sits evenly around the rim. Inflate to the manufacturer’s recommended pressure — usually printed on the tire sidewall — and verify that the wheel spins smoothly once remounted on the scooter.
If you are installing a new tire, double-check that the tread pattern is facing the correct direction for your scooter. Finally, reattach the wheel, secure the bolts firmly, and test the brakes before your next ride.
Common Mistakes to Avoid
Removing and reinstalling scooter tires might seem simple, but a few small errors can cause bigger problems later.
- Not deflating fully before removal: A tire that still holds air pressure will resist prying and can damage the rim.
- Using sharp tools on the rim: Metal screwdrivers or prybars can bend or scratch aluminum rims, leading to air leaks.
- Over-inflating after installation: Pumping the tire beyond its rated PSI may cause it to pop off the rim or stress the tube.
- Forgetting to check bead seating: Uneven seating can create wobbles or slow air leaks.
- Skipping a rim inspection: Dirt, burrs, or cracks on the rim can puncture a new tube quickly.
By paying attention to these points, you’ll extend the life of your tire and maintain smooth, balanced rides.
Maintenance Tips After Tire Removal
After reinstalling your tire, a little preventive maintenance helps it last longer and perform better.
- Check tire pressure regularly: Low pressure increases rolling resistance and wear, while overinflation can reduce traction.
- Inspect tread wear: Replace tires that show bald patches or cracks, especially near the center tread.
- Clean debris from treads: Remove stones, glass, or metal fragments lodged in the tire to prevent punctures.
- Rotate tires if possible: Switching front and rear tires occasionally promotes even wear on both.
- Store your scooter properly: Keep it in a cool, dry place to protect rubber from cracking and fading.
These habits take only a few minutes each month and can prevent most common flat-tire problems, helping your electric scooter go farther and maintain its range over time.
Safety Precautions
Working on your electric scooter’s tires involves tools, pressure, and sometimes heat — all of which require care.
- Work on a flat, stable surface: This prevents your scooter from tipping while you remove or reinstall wheels.
- Wear gloves and eye protection: Tire levers can slip under tension, and deflating air may release small debris.
- Avoid overusing heat on solid tires: Excessive heat can deform the rubber or damage wheel bearings.
- Secure all fasteners before riding: Loose bolts can cause instability or brake misalignment.
- Test ride at low speed: Always ensure the tire is seated, inflated, and aligned before returning to normal use.
Following these steps keeps the process safe and prevents costly mistakes during tire maintenance.
Final Words
Replacing or reinstalling an electric scooter tire might seem intimidating the first time, but with the right tools, patience, and attention to detail, anyone can do it. Understanding your tire type, following each removal and reinstallation step carefully, and checking for proper inflation are key to success. Regular maintenance and quick inspections after each ride will keep your scooter rolling smoothly and safely for years.
FAQs
How long does it take to replace an electric scooter tire?
Most tire changes take about 30 to 60 minutes, depending on the scooter model and whether it uses pneumatic or solid tires.
Can I use regular bike tire levers on my scooter wheel?
Yes, as long as they’re plastic or coated. Metal levers can damage the rim or puncture the inner tube.
How do I know if my scooter tire needs replacing?
Replace it if the tread is worn smooth, the rubber shows cracks, or it frequently loses air even after patching.
What PSI should I inflate my scooter tires to?
Check the tire sidewall or your owner’s manual. Most commuter scooters range between 45 and 55 PSI.
Are solid tires better than air-filled ones?
Solid tires prevent flats and need less maintenance, but pneumatic tires provide better comfort, traction, and shock absorption.

Max Volt is an electric scooter and e-bike enthusiast who rides daily and knows the nuts and bolts of every model. With years of hands-on repair experience and real-world testing, Max shares practical reviews, maintenance tips, and buyer guides to help riders choose the right gear with confidence. His mission is to make electric commuting safer, smarter, and more enjoyable for everyone.