Resetting an electric scooter controller restores normal operation when your scooter stops responding, shows errors, or behaves erratically. It clears temporary faults in the system, allowing power and throttle signals to communicate correctly again.
Key Summary:
- Resetting an electric scooter controller helps restore power flow and communication between the battery, motor, and throttle when performance issues appear.
- Most scooters can be reset through simple power cycles, button combinations, or temporary battery disconnections depending on the model.
- Regular inspection of wiring, connectors, and battery voltage prevents recurring controller faults and unnecessary resets.
- If resets fail, checking fuses, loose terminals, or replacing a faulty controller can fully restore normal operation and extend scooter life.
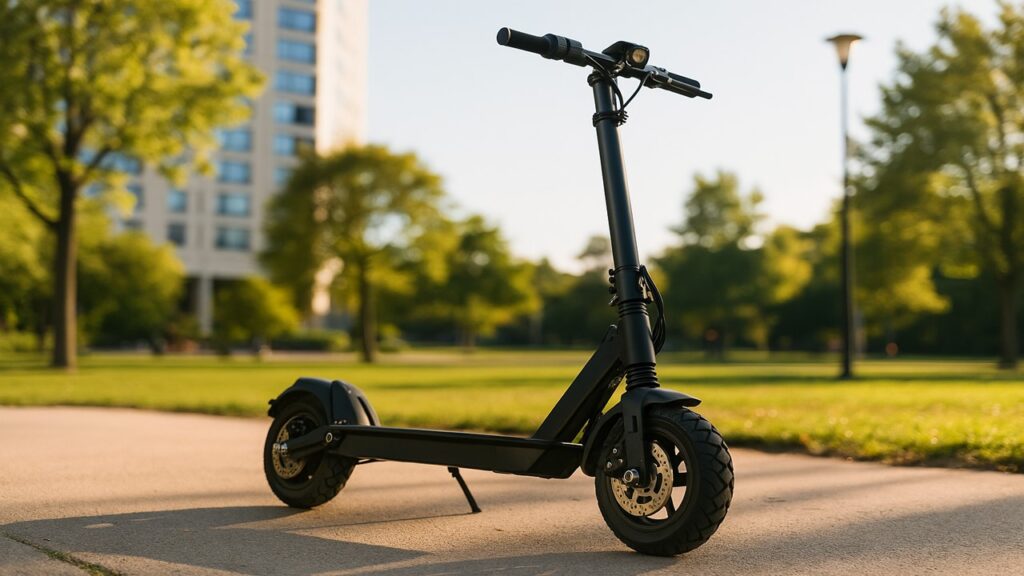
What Is an Electric Scooter Controller and Why It Matters
The controller is the scooter’s central processor — the electronic unit that manages communication between the battery, throttle, motor, and braking system. Every movement, from gentle acceleration to smooth braking, depends on how accurately the controller distributes power and interprets signals.
In simple terms, the controller tells the motor when to move and how fast, based on input from the throttle and brake levers. When it malfunctions, you may notice sluggish response, no throttle output, flickering displays, or random power cuts. Because of this, understanding and resetting it properly is essential for maintaining consistent performance and extending the scooter’s lifespan.
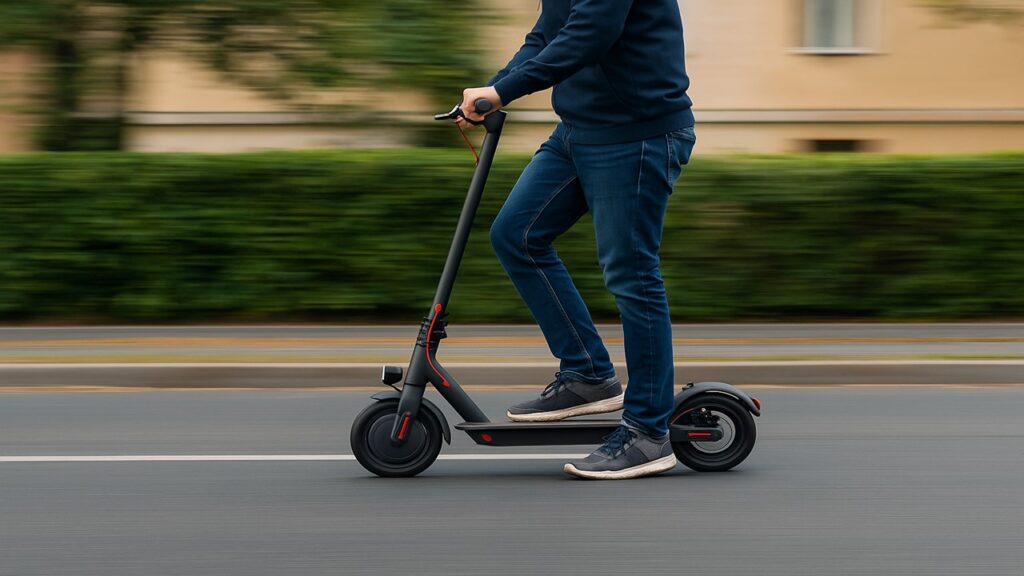
When You Should Reset Your Scooter Controller
If your scooter suddenly stops working as expected, a controller reset can often solve the issue.
Common signs include:
- Scooter won’t power on even though the battery is charged.
- Throttle or brakes feel unresponsive or delayed.
- Error codes appear on the display or lights start blinking abnormally.
- Motor stutters or cuts out during acceleration.
- Power drops suddenly, even with a full charge.
Each of these issues points to the controller losing synchronization with other components. Performing a reset re-establishes proper communication and clears stored error data. If problems continue afterward, it may indicate a wiring fault or a failing controller rather than a software glitch.
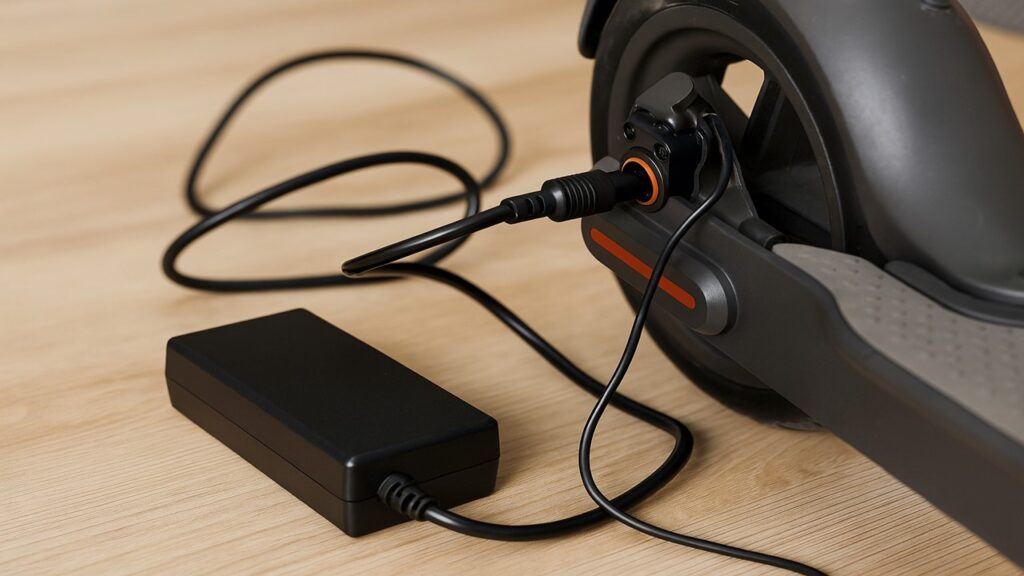
Tools and Safety Preparation Before Reset
Resetting the controller is simple, but basic precautions keep you safe and prevent short circuits.
You’ll need a few common tools:
- Screwdriver for removing deck or housing panels.
- Multimeter to check battery voltage and wire continuity.
- Dry cloth or brush to clean dirt or moisture around the controller area.
- User manual for your scooter’s specific reset instructions.
Before you begin, turn off the scooter and disconnect it from any power source. Ensure your hands are dry, the work surface is stable, and the battery terminals are secure but not exposed. These steps prevent accidental sparks and protect sensitive circuits while you access the controller compartment.
How to Reset an Electric Scooter Controller
Resetting your controller can be done in just a few minutes. It’s a good idea to follow these steps in order to ensure a complete reset and verify that all components are communicating correctly.
- Turn off the scooter and unplug the charger.
- Access the controller compartment beneath the deck.
- Inspect wiring and connectors for looseness or corrosion.
- Perform the appropriate reset sequence.
- Reconnect and test throttle, brakes, and display.
Once these basics are done, follow the detailed reset process below.
Step 1 – Power Down the Scooter
Start by switching off the scooter completely and unplugging it from any charger. Wait a few minutes to let internal capacitors discharge. This step ensures the controller resets cleanly when power is reintroduced. Skipping this pause may cause residual current to keep old error codes stored in memory.
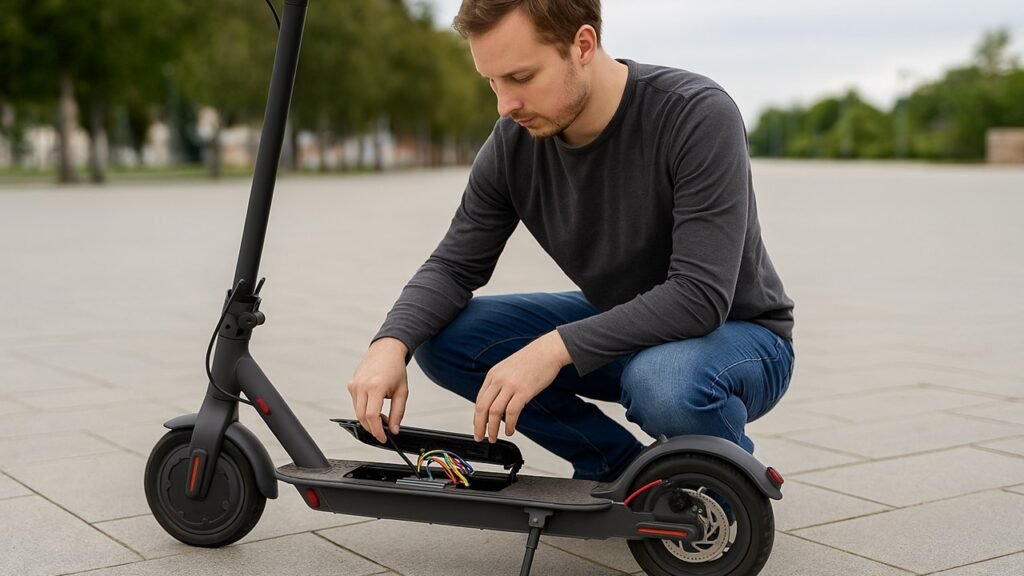
Step 2 – Access the Controller Box
Locate the controller housing — usually under the foot deck or behind a rear panel. Use a screwdriver to remove the cover carefully, keeping track of any screws or clips. Inside, you’ll find several wires connected to a metal or plastic module. Take a clear photo of the wiring before unplugging anything so you can reconnect them correctly later.
Step 3 – Inspect Connections
Look for any loose, corroded, or disconnected cables between the battery, motor, and throttle. These can often cause the scooter to malfunction, even if the controller itself is fine. Gently push each connector into place, and clean off visible dirt with a dry cloth. A quick multimeter test can confirm that voltage is reaching the controller properly.
Step 4 – Perform the Reset
Depending on your scooter model, there are a few common reset methods:
- Power Cycle Reset: Hold the power button for 10–15 seconds, then release. Reconnect the battery and turn the scooter back on.
- Factory Reset (for smart displays): Navigate to Settings → Factory Reset on the LCD or mobile app, then confirm.
- Hard Reset (manual): Disconnect the controller’s battery cables for 5–10 minutes. This clears any stored fault codes before reconnection.
Choose the option that matches your scooter type. Power cycling fixes most temporary errors, while a hard reset helps if the scooter remains completely unresponsive.
Step 5 – Reconnect and Test the Scooter
After completing the reset, reconnect all cables exactly as before, close the housing, and power the scooter back on. Watch for any error indicators and test the throttle, brakes, and display. If everything responds normally, your reset was successful. If not, you may need to recheck wiring or consult a technician for deeper diagnostics.
A successful controller reset restores normal operation, clears false errors, and ensures smoother power delivery — bringing your electric scooter back to full functionality.
Brand-Specific Reset Instructions
Different scooter brands use slightly different reset methods. Knowing the right approach for your model saves time and prevents unnecessary disassembly. Use the table below to identify your scooter’s reset sequence and follow it exactly as listed.
| Brand | Reset Combination | Approx. Time | Notes |
| Xiaomi Mi / Pro | Hold throttle, brake, and power button together | 5 seconds | Works for both Mi and Pro series; clears basic throttle faults |
| Segway Ninebot | Use mobile app → Settings → Factory Reset | 1 minute | Requires Bluetooth connection; restores software defaults |
| GoTrax / Hiboy | Hold the power button for 10–15 seconds | 10 seconds | Resets throttle communication and clears error codes |
| Razor / Kugoo | Disconnect controller from battery for 10 minutes | 10 minutes | Manual reset for scooters without a digital display |
| Turboant / Varla | Hold brake lever + power button for 7 seconds | 7 seconds | Clears overload and throttle calibration issues |
Always confirm the reset method with your scooter’s manual. Some newer models support app-based resets that automatically reconfigure throttle and motor parameters after reconnection.
What If the Reset Doesn’t Work?
If your scooter still won’t start or respond after a reset, the issue may go beyond software errors.
Here are the most common causes and fixes:
- Blown fuse or weak battery: Check your scooter’s fuse near the battery pack. Replace it if burned or blackened. Measure voltage with a multimeter to confirm the battery outputs its rated power.
- Loose or damaged wires: Inspect the wiring harness leading to the controller and motor. Reconnect any loose plugs or replace frayed cables.
- Faulty MOSFETs or capacitors: If the scooter powers up but the motor won’t engage, internal controller components may have failed. Replacement is the only fix in this case.
- Corroded connectors: Moisture or dirt buildup often breaks signal flow. Clean terminals gently with contact cleaner or a dry brush.
- Incorrect reset timing: Some scooters require holding buttons for a precise duration. Repeat the reset while following the brand’s timing instructions exactly.
Wiring Diagram – Basic Troubleshooting Layout
| Component | Connected To | Purpose |
| Battery | Controller main input | Supplies power |
| Throttle | Controller signal port | Sends acceleration input |
| Motor | Controller output | Converts electrical to mechanical energy |
| Display | Controller communication port | Shows speed and error codes |
| Brake lever | Controller safety line | Cuts motor signal when pressed |
Following this wiring map helps confirm whether the controller is receiving power and sending correct signals to the motor and throttle.
Troubleshooting Table
If the scooter behaves abnormally even after a reset, use the table below to identify the likely cause.
These quick checks can save hours of guesswork and unnecessary part replacements.
| Issue | Possible Cause | Fix | Reset Step to Review |
| Scooter won’t power on | Blown fuse or drained battery | Replace fuse or recharge battery | Step 1 |
| Throttle unresponsive | Loose signal wire | Reconnect throttle plug securely | Step 3 |
| Display shows error code E2 | Communication failure | Perform power-cycle reset | Step 4 |
| Motor stutters or jerks | Controller overload | Hard reset and inspect MOSFETs | Step 4 |
| Lights flicker randomly | Faulty grounding wire | Tighten ground terminal | Step 5 |
This table simplifies post-reset checks, helping pinpoint electrical or connection-related problems before assuming controller failure.
How to Prevent Controller Problems in the Future
Keeping your controller in good shape prevents repeat resets and costly repairs.
Here’s how to maintain it properly:
- Avoid water exposure: Never ride through deep puddles or wash the scooter with high-pressure water. Moisture corrodes wiring and shortens controller life.
- Inspect connectors monthly: Check battery, throttle, and motor plugs for looseness or rust. Tighten or clean them using a dry cloth.
- Charge with the correct adapter: Using an incompatible charger can cause voltage spikes that damage controller circuits. Always match the recommended charger rating.
- Store in a cool, dry space: High humidity and extreme temperatures degrade solder joints and internal chips over time.
- Perform gentle starts: Avoid sudden throttle twists, as they stress the controller’s current-handling components.
Consistent maintenance reduces controller strain, prevents overloads, and extends overall scooter reliability.
Final Thoughts
Resetting your electric scooter controller is one of the easiest and most effective ways to fix power and throttle-related issues. Most problems stem from communication errors between the controller, battery, and throttle—issues that a quick reset can clear. Always start with basic steps like checking wiring and performing a power-cycle reset before assuming a hardware failure. With routine maintenance and moisture protection, your controller should operate smoothly for years.
FAQs
Does resetting erase speed limits or firmware?
No, a reset only clears temporary faults. Speed limits and firmware settings remain unchanged unless you perform a factory reset from the app.
Can I reset the controller without opening the scooter?
Yes, many scooters allow button or app-based resets. Only access the controller physically if the scooter stays unresponsive after multiple tries.
Why does my scooter lose power after reset?
If power loss continues, the issue usually lies in the battery or fuse, not the controller. Check voltage output to ensure proper power delivery.
Is resetting the same as recalibrating?
No. Resetting clears errors, while recalibration fine-tunes throttle or brake sensors. Some scooters automatically recalibrate after a full reset.
When should I replace the controller instead of resetting it?
Replace it if the scooter remains dead after confirming battery voltage, fuse integrity, and wiring continuity. A burnt smell or visible chip damage are sure signs of failure.

Max Volt is an electric scooter and e-bike enthusiast who rides daily and knows the nuts and bolts of every model. With years of hands-on repair experience and real-world testing, Max shares practical reviews, maintenance tips, and buyer guides to help riders choose the right gear with confidence. His mission is to make electric commuting safer, smarter, and more enjoyable for everyone.